本帖最后由 moloi 于 2020-8-6 23:28 编辑
一、前言
1、本文主要内容
- GitLab11.1.4社区版部署
- GitLab配置禁用创建组权限
- GitLab配置邮件(SMTP)
- GitLab常用命令说明
先介绍一下本篇文章所使用的环境
| 服务器名 |
操作系统 |
硬件配置 |
虚拟机IP |
说明 |
| GitLab |
CentOS 7 |
1C4G |
192.168.56.160 |
部署GitLab社区版 |
二、准备工作
1、安准基础依赖
#安装技术依赖
sudo yum install -y curl policycoreutils-python openssh-server
启动ssh服务&设置为开机启动
sudo systemctl enable sshd sudo systemctl start sshd
2、安装Postfix
Postfix是一个邮件服务器,GitLab发送邮件需要用到
#安装postfix
sudo yum install -y postfix
启动postfix并设置为开机启动
sudo systemctl enable postfix
sudo systemctl start postfix
3、开放ssh以及http服务(80端口)
#开放ssh、http服务
sudo firewall-cmd --add-service=ssh --permanent
sudo firewall-cmd --add-service=http --permanent
重载防火墙规则
sudo firewall-cmd --reload
三、部署过程
本次我们部署的是社区版:gitlab-ce,如果要部署商业版可以把关键字替换为:gitlab-ee
1、Yum安装GitLab
curl https://packages.gitlab.com/install/repositories/gitlab/gitlab-ce/script.rpm.sh | sudo bash
sudo yum install -y gitlab-ce
安装成功后会看到gitlab-ce打印了以下图形

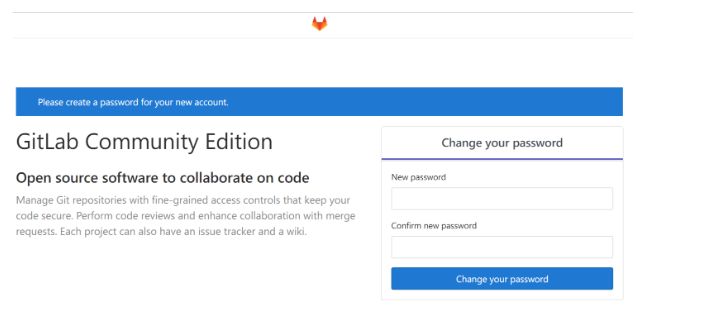
2,浏览器输入 192.168.56.160就能进入到gitlab的登录界面了

这时候会提示为管理员账号设置密码。管理员账号默认username是root。
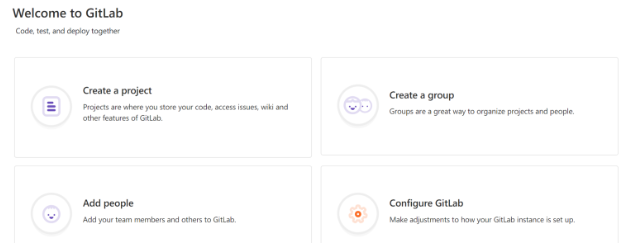
设置完成之后即可使用root账号登录,登陆后会进入欢迎界面。

|  发表于 2020-8-5 23:33
 发表于 2020-8-6 08:40
 发表于 2020-8-6 09:06